Step 1:
We meet with you to discuss your edging design; layout, choice of profile, stamped patterns, and colors that are available and provide you a quote. Once the quote is accepted, we add you into our installation schedule.
Step 2:
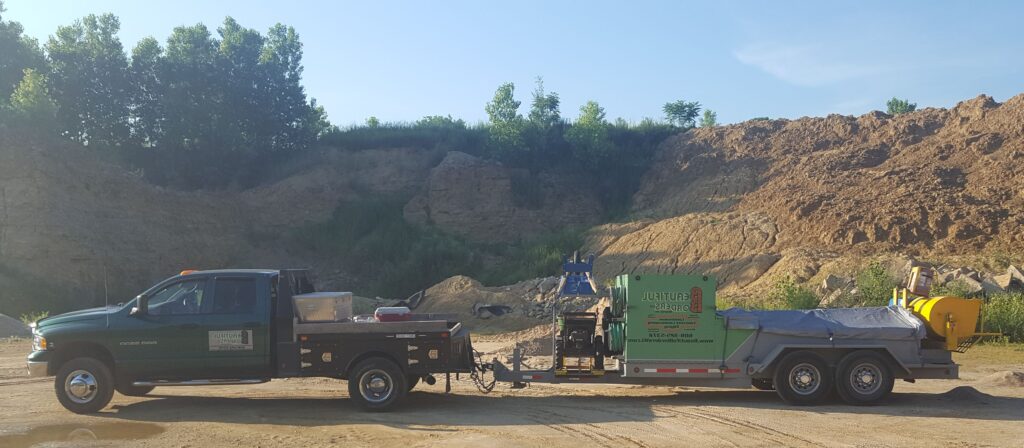
We arrive on the day\time agreed. The team will unload the tools and equipment required to complete the installation from our trailer. The layout will be reviewed with you one last time prior to installing your border
.
Step 3:
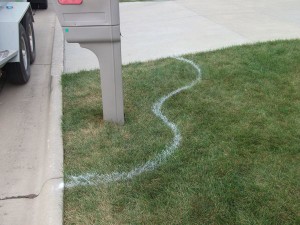
Where necessary the layout of the border will be spray painted to ensure your layout is acceptable to you. The sod or any other material will be removed or moved from the border path.

Step 4:
Concrete with your color will be mixed and the extruder fitted with the profile for your border. The concrete will be loaded into the extruder to pre-form the border. The border is then hand finished, stamped (excludes the mower profile), and the front edge is cleaned of slag. The area in front of the border is racked or swept to clean up any other concrete waste. The final step is to seal the border.
Step 5:
We clean up our tools, equipment, worksite, and we leave you to enjoy your new border.